


duplex printing). Learn the secret to aligning double-sided designs, flipping on the long edge vs short edge, and stopping upside-down printing disasters.”>
The Secret to Printing From Canva Front and Back (Duplex)
You have designed the perfect folded brochure for your business, or perhaps a beautiful double-sided wedding invitation. The digital file in Canva looks immaculate. But when you attempt to print it at home, chaos ensues. The back page prints entirely upside down, the margins are completely misaligned, and the ink bleeds straight through the paper, ruining the front design.
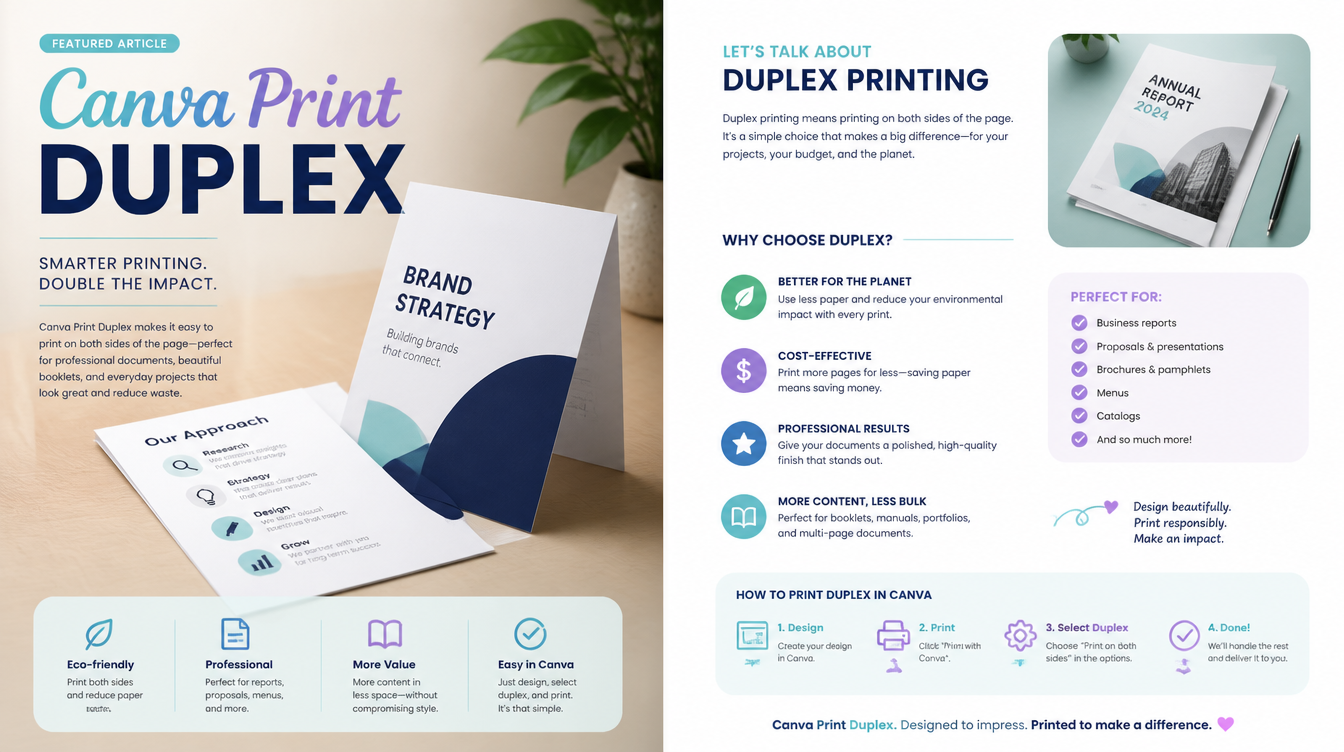
Figuring out exactly how to print from Canva front and back (a process officially known in the printing industry as “duplexing”) is one of the most frustrating hurdles for DIY creators.
The problem is rarely Canva itself. The issue stems from a breakdown in communication between the PDF file and your printer’s hardware drivers. In this guide, we will walk you through exactly how to set up your Canva file for duplexing, how to choose the correct paper, and the critical difference between “flipping on the long edge” and “flipping on the short edge.”

The Golden Rule of Duplexing: For portrait (vertical) documents like flyers, always tell your printer to “Flip on the Long Edge.” For landscape (horizontal) documents like folded greeting cards, tell your printer to “Flip on the Short Edge.”
Step 1: Preparing the File in Canva
Before you even touch your printer, your Canva document must be structured correctly.
Canva treats double-sided documents as a multi-page file. You cannot put the front and back of your design side-by-side on the same canvas (unless you are printing a massive poster that you plan to manually fold in half). Instead, you need to use Canva’s paging system.
- Create your design for the front of the document (Page 1).
- Look at the bottom of the Canva editor and click the “+ Add Page” button to create Page 2.
- Design the back of your document on Page 2.
Critical Alignment Tip: Everything on Page 2 must perfectly mirror Page 1. If you have a 1-inch margin on the left side of Page 1, you must also have a 1-inch margin on the left side of Page 2 (or the right side, depending on the fold). If your margins are asymmetrical, the front and back will not line up when you hold the physical paper up to the light.
To learn more about setting strict margins in Canva, read our foundational guide: The Ultimate Guide to Printing Canva Designs.
Step 2: Exporting as a Multi-Page PDF
Never export a double-sided document as a JPG or PNG. Your computer will treat them as two entirely separate image files, making automated double-sided printing nearly impossible.
You must export the file as a single, multi-page PDF.
- Click Share > Download.
- Select PDF Print.
- Ensure the “Select Pages” dropdown is set to “All Pages” (so both Page 1 and Page 2 are included in a single PDF file).
- Check “Crop marks and bleed” if your design requires edge-to-edge printing (see our borderless printing guide for more info).
- Click Download.
Step 3: The Printer Settings (Long Edge vs. Short Edge)
Open the PDF you just downloaded using Adobe Acrobat or your web browser. Click File > Print. You must now give your printer specific instructions on how to physically rotate the paper inside its machinery.
Look for a checkbox that says “Print on both sides of paper” or “Two-Sided Printing” (Duplex). Once you check this box, you will be presented with a critical choice: Flip on Long Edge or Flip on Short Edge.
Choosing the wrong one is the #1 reason why the back of your flyer printed upside down.
When to use “Flip on Long Edge”
Imagine reading a standard textbook or a novel. The pages are bound on the left (the longest side of the paper), and you turn the pages like a standard book. This is flipping on the long edge. Use this setting for standard portrait documents, flyers, and double-sided letters.
When to use “Flip on Short Edge”
Imagine flipping through a spiral-bound wall calendar or a reporter’s steno notepad. The pages are bound at the top (the shortest side of the paper), and you flip them upward. Use this setting for landscape documents, horizontal certificates, or folded greeting cards (tent cards).
Step 4: Preventing “Bleed-Through” (Paper Opacity)
You followed all the instructions, the alignment is perfect, and the back is right-side up. But it still looks terrible because you can see the dark ink from the front of the flyer bleeding straight through to the back.
This is a hardware issue, not a Canva issue. You are using paper that is too thin or lacks opacity.
Standard 20lb office copy paper is virtually transparent when heavily saturated with inkjet ink. To print double-sided professional documents, you must use a heavier weight paper. We strongly recommend upgrading to a 28lb or 32lb premium presentation paper for flyers, or an 80lb cardstock for business cards and invitations.
Printing business cards? Check out our specific tutorial: How to Print Canva Business Cards at Home.
What if My Printer Doesn’t Support Auto-Duplexing?
If you have an older or budget printer, it might not have an internal mechanical flipper. You will have to do it manually.
In the print dialog, look for an option to “Print Odd Pages Only”. Hit print. The printer will print the front of your design. Then, you must physically pick up the printed sheet, flip it over, place it back into the paper feed tray, and then tell the computer to “Print Even Pages Only”.
Warning: Every printer feeds differently (some print face up, some face down). Do a test run and draw an arrow on a piece of scrap paper in pencil so you learn exactly how your specific tray feeds the paper back into the machine!
Frequently Asked Questions (FAQ)
Why are my margins misaligned on the back page?
If your printer does not pull the paper in perfectly straight, a 1mm shift on the front creates a compounding 2mm visible shift on the back. Ensure your printer’s paper guides are snug against the paper stack, and always print at “100% Actual Size” to prevent the software from shrinking the margins.
Can I print double-sided photos on photo paper?
Generally, no. Standard glossy photo paper is only coated to accept ink on one side (the glossy side). The back is usually heavily branded with the manufacturer’s logo and is not designed to absorb ink. You must purchase specialized “Double-Sided Matte Photo Paper” or “Premium Presentation Paper” designed for duplexing.
Why is my double-sided business card template not lining up?
When printing 10-up business cards (like Avery templates), the front layout and the back layout must be exact mirror images. If your design shifts even slightly, it will cross the perforated cut lines on the back. We highly recommend using Avery’s free Design & Print software to handle the exact alignment rather than trying to manually line up the front and back grids in Canva.
