


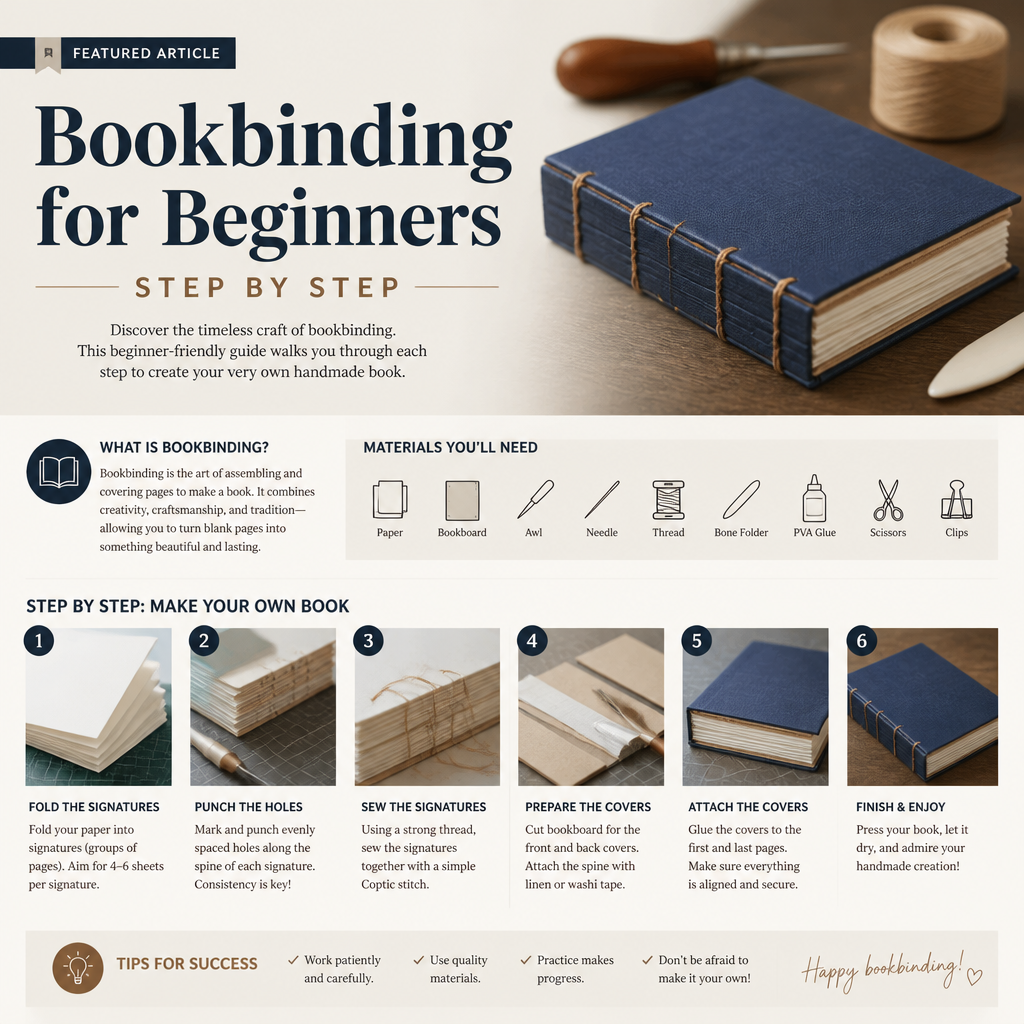
Bookbinding for Beginners Step by Step (2026 Guide)
Whether you have just learned how to sell print on demand journals or you simply want to bind a personal sketchbook, bookbinding is an incredibly rewarding craft. But taking a stack of loose printer paper and turning it into a professional, hardcover book can seem daunting.
In this guide, we are covering bookbinding for beginners step by step. Before we worry about leather covers or complex sewing, we need to master the foundational anatomy of a book.

Step 1: The Most Important Rule (Grain Direction)
If you take nothing else away from this guide, remember this: Paper has a grain direction, and it must run parallel to the spine of your book.
During the manufacturing process, paper fibers align in one direction. If you fold a piece of paper parallel to the grain, it folds smoothly. If you fold it *against* the grain, the paper fights back. It cracks, wrinkles, and refuses to lay flat. Furthermore, when paper absorbs moisture (from the glue we will use later), it expands *across* the grain. If your grain is wrong, your finished book will warp into a wave shape that cannot be fixed.
How to test grain direction: Take a sheet of paper and gently bow it horizontally, then vertically. One direction will feel much stiffer. The direction that bends the easiest is parallel to the grain. That easy-bending line is where your fold (and your spine) must be.
Step 2: Folding the Signatures
A book is not just a stack of flat pages glued together. That is called “perfect binding” (like a cheap paperback), and it falls apart easily. A high-quality book is made of signatures.
A signature is a group of folded pages nested inside one another. Here is how to make them:
- Take 4 sheets of your paper (checking that the grain runs top-to-bottom relative to your fold).
- Fold them in half together.
- Use a bone folder (one of the best bookbinding supplies you can own) to press the crease flat and sharp.
- You now have one signature containing 16 pages (4 sheets x 4 pages per folded sheet).
- Repeat this process until you have 6 to 10 signatures.
Step 3: Stacking the Text Block
Stack all of your folded signatures on top of each other. This stack is called your text block.
Use binder clips or heavy books to compress the spine of the text block tightly. You want the folded edges to be perfectly flush with one another.
Step 4: Punching Holes
Before you can sew the signatures together, you need to create sewing stations (holes). Because pushing a needle through four layers of paper is difficult and inaccurate, we pre-punch the holes.
Create a paper template the exact height of your spine. Mark out evenly spaced dots (usually 4 or 6 dots, depending on the height of your book). Open each signature to its center, lay the template inside the crease, and use an awl to pierce through the fold at each dot.
Step 5: Sewing the Text Block
Now comes the fun part. You will use a curved needle and waxed linen thread to sew the signatures together. The wax prevents the thread from tangling and cutting the paper.
The most common stitch for beginners making case-bound books is the Kettle Stitch. It links each signature to the one directly below it, creating a flexible, incredibly strong chain along the spine. We have a dedicated tutorial on mastering the bookbinding basic stitch that covers the exact threading path.
Step 6: Gluing the Spine
Once sewn, your text block is structurally sound, but the signatures can still shift sideways. To lock them in place, you need to apply glue to the spine.
Do not use regular white school glue or superglue. You must use PVA (Polyvinyl Acetate) glue. PVA is acid-free (so it won’t yellow your paper over the decades) and, crucially, it dries flexible. If the glue dried stiff, the spine would crack when you opened the book.
Clamp your text block between two heavy boards so just the spine is exposed. Brush a generous layer of PVA glue over the spine, working it into the gaps between the signatures. Let it dry completely (usually 12-24 hours).
Congratulations! You have completed a fully functional text block. Your next step is crafting the hardcover case to protect it.
