


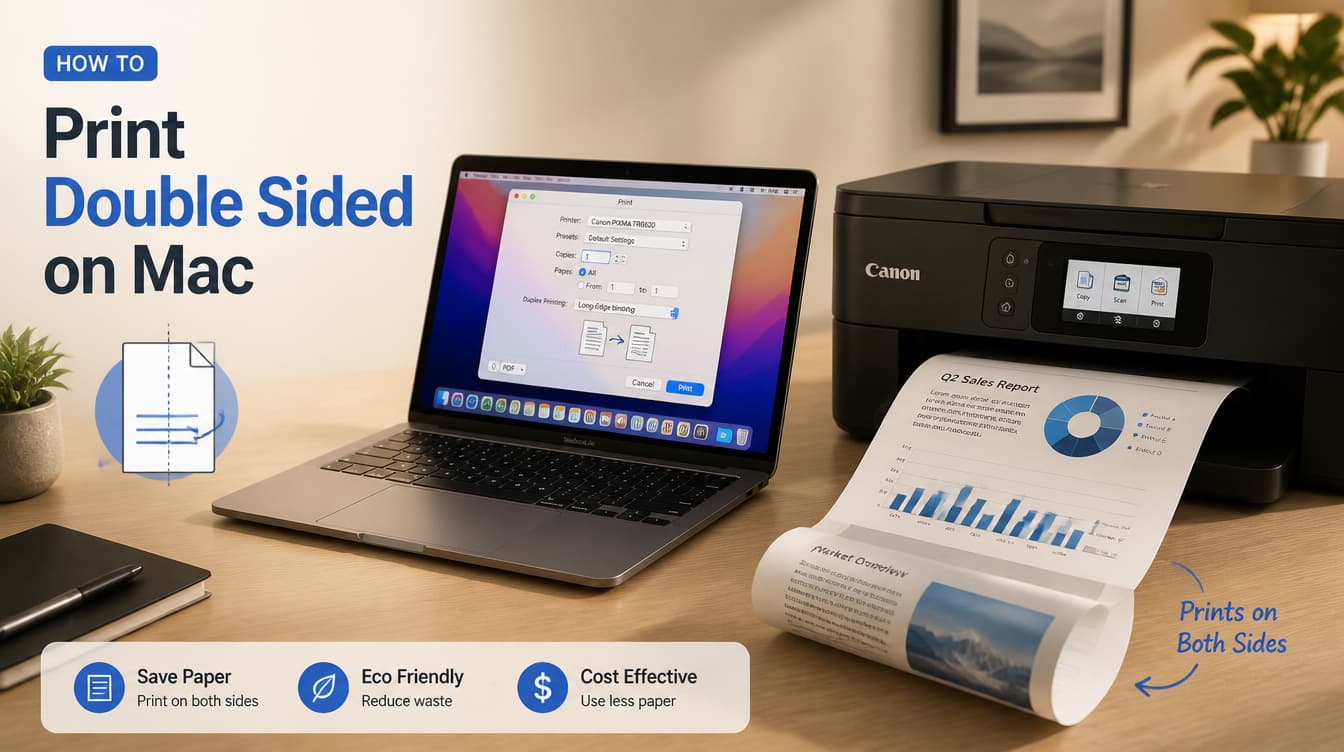
How to Print Double Sided on Mac: A Complete Step-by-Step Guide
If you are wondering how to print double sided on Mac, the short answer is: Press Command + P to open the Print dialog, look for the “Double-sided” checkbox, and select “On.” If the checkbox is missing, click the application dropdown menu, select “Layout,” and turn on “Two-Sided” printing.
This guide covers everything you need to know about double-sided printing on macOS, including how to print manually if your printer doesn’t support automatic duplexing.
1. How to Print Double Sided on Mac (Automatic)
According to Apple Support, if your printer has built-in automatic duplexing (the ability to pull the paper back in and print on the other side), follow these simple steps.

Step-by-step instructions:
- Open your document in any Mac application (e.g., Pages, Word, Preview, or Safari).
- Press Command + P on your keyboard (or click File > Print in the top menu bar).
- Look for the Double-sided checkbox in the main print window.
- Check the box and select On. (Note: Choose “On (Short Edge)” if you are printing a calendar or a document bound at the top).
- Click the Print button.
What if the Double-Sided Checkbox is Missing?
If you don’t see the simple checkbox, your settings are likely located in the advanced menu:
- In the Print dialog box, look for a dropdown menu in the middle of the screen (it usually displays the name of the app you are using, like “Safari” or “Preview”).
- Click the dropdown menu and select Layout.
- Locate the Two-Sided option.
- Select Long-Edge binding (standard book style) or Short-Edge binding (notepad style).
- Click Print.
2. How to Print Double Sided on Mac Manually
If your printer does not support automatic duplex printing, you can still print on both sides of the page using the manual method.

How to print manually:
- Open the Print dialog by pressing Command + P.
- Click the central dropdown menu and select Paper Handling.
- Find the Pages to Print option and select Odd Only.
- Click Print to print all the odd-numbered pages.
- Once finished, take the printed stack, flip the pages over, and place them back into the printer’s paper tray. (Tip: Test one page first to see whether your printer feeds paper face-up or face-down).
- Open the Print dialog again.
- Go back to Paper Handling, but this time select Even Only under “Pages to Print.”
- Click Print. The even pages will now print on the blank reverse side of your sheets.
3. How to Enable Double-Sided Printing by Default (CUPS Interface)
If you find yourself constantly turning on the two-sided setting, you can configure your Mac to default to duplex printing using the CUPS (Common UNIX Printing System) web interface.
“To make double-sided printing the default on a Mac, you must access the hidden CUPS interface via a web browser, locate your printer under ‘Printers,’ change the default ‘Two-Sided’ option in the ‘Administration’ dropdown, and save the settings.”
Steps to enable default duplex printing:
- Open the Terminal app on your Mac.
- Type
cupsctl WebInterface=yesand press Enter (this enables the hidden web interface). - Open a web browser and go to
http://localhost:631. - Click the Printers tab and select your printer.
- Click the Administration dropdown menu and select Set Default Options.
- Find the Two-Sided or Duplex setting and turn it on.
- Click Set Default Options to save.
Frequently Asked Questions (FAQ)
Why is the double-sided option greyed out on my Mac?
The double-sided option is greyed out when macOS believes your printer does not support automatic duplexing, or if the incorrect driver is installed. To fix this, go to System Settings > Printers & Scanners, remove your printer, and re-add it using the official manufacturer driver instead of the generic AirPrint driver. You can read our full guide on how to fix greyed-out print options for more detailed steps.
How do I print double-sided from Google Chrome on a Mac?
To print double-sided from Chrome, press Command + P, expand the “More settings” dropdown in the Chrome print preview window, and check the box for “Print on both sides.” If you do not see it, click “Print using system dialog” at the bottom to access the native macOS print settings.
What is the difference between long-edge and short-edge binding?
Long-edge binding prints pages so they turn like a standard book (the text orientation remains the same when flipped left to right). Short-edge binding prints pages so they flip over the top, like a steno pad or calendar. Check out our printing glossary for more definitions.
